Although some companies promote their products as "no prep", that is nonsense. if you skip this step the finish can fail.
General Finishes standard for a good finish is it must adhere well and stand the test of time.
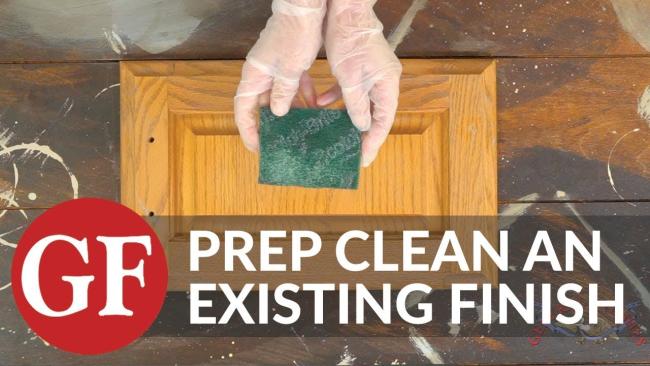
1. PREP CLEANING:
Cleaning an existing finish removes dirt, grime and many common contaminants such as oil from hands. Dirt, grime, and oil prevent good adhesion causing the possibility of chipping, peeling and flaking - all signs of a failed finish.
We prefer a 50|50 mix of denatured alcohol and water because it does not contain phosphates, is inexpensive, readily available and does not require rinsing.
You can also use ammonia as a cleaner when using oil-based finishes. We do not recommend using ammonia with water-based finishes as it can cause the finish to blush (turn white).
50|50 water|bleach or 50|50 water vinegar solutions can be used as well - be sure to rinse with a warm, wet cloth and let the project dry.
In cases where the project has a lot of buildup, we recommend scrubbing with a detergent such as Spic and Span first, followed by a rinse, and then by the 50|50 mix of water and alcohol. Let your piece dry thoroughly.
You can use commercial furniture cleaners such as TSP but check the label for phosphates - they will leave a residue behind that requires rinsing.
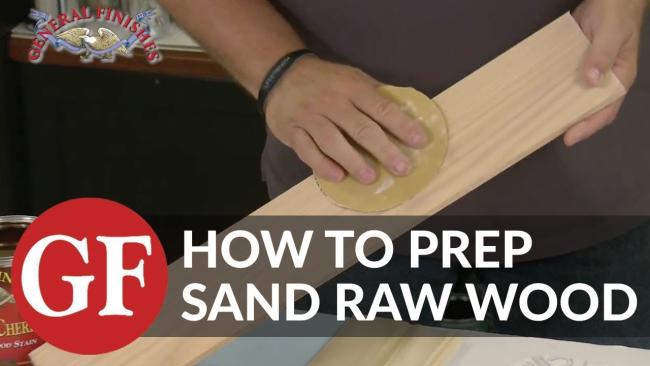
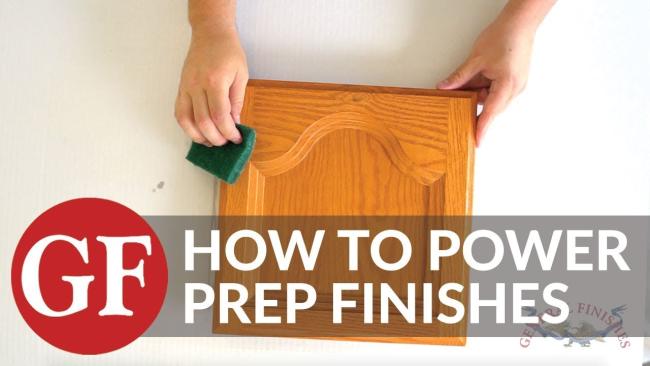
2. PREP SANDING:
The most critical part of finishing a piece of furniture happens before you open a can of stain or paint - it starts with the sanding. Prep sanding an existing finish further cleans the surface, removing built-up dirt, grime, and oil from hands.
Prep sand an existing finish with a 220 sanding pad.
3. BE CAUTION OF CONTAMINANTS
Contaminants from dusting sprays that contain silicone will also impact the appearance and adherence of a finish - silicone is almost impossible to remove. Oil soaps and wax can also cause adhesion failures.
 Enduro Water-Based Conversion Varnish
 Enduro Water-Based Tintable 2K White Poly
 Enduro Water-Based Pro Series White Polyurethane
 Enduro Water-Based Tintable 2K Clear Poly
 Hard Wax Oil & Hardener
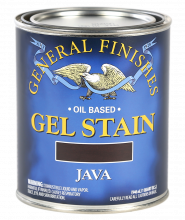 Gel Stains
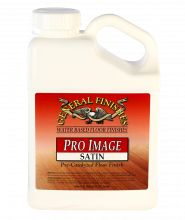 Pro Image Flooring Topcoat
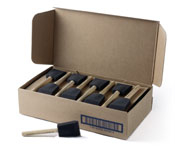 Jen Poly Brushes
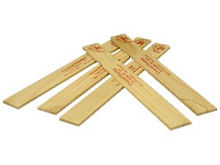 Stir Stix
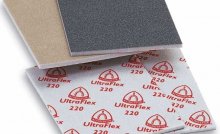 Ultraflex Softback Sanding Sponge