PRODUCTS FEATURED:
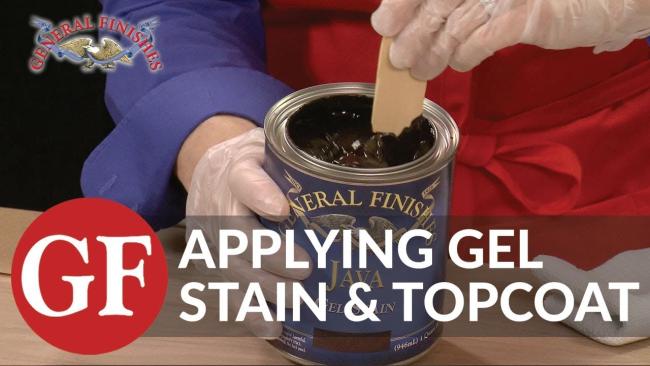
APPLYING GEL STAIN: (1:30 - 4:30)
Gel Stain carries a lot more colorant than liquid oil stain and this can cause lap marks on the absorbent open grain of raw wood surfaces. We'll show you how to avoid that.
Even though Gel Stain is thick, be sure to stir it.
When using oil stains on raw wood, prep sand with 120-grit sandpaper followed by 150-grit. Don't go any finer with the sanding grit or else the wood won't hold color.
If it's a big project divide it into sections such as a leg, top or side and finish one section at a time. Get a buddy to help you if you're working on large surfaces and don't take a phone call while you're working!
This is a walnut table leaf and it will lighten over time so I want to enhance and control color by using Gel Stain. The first thing I am going to start with is a slip coat of mineral spirits. This will help the stain glide over the surface and reduce lap marks. It is NOT a pre-stain conditioner. The other thing you could do if you wanted to on a really large surface would be to thin out the material with 10% mineral spirits.
The next thing we have to do is just simply get it on the surface quickly, spread it out and wipe it off. I'm going to saturate my applicator, this foam brush, and I'm just going to get the gel right on the surface. Spread it out with a shop towel or paper towel.
As you get the product off the surface then start going with the grain. Check your surface to see if you missed anything and that's all it takes! We will let this dry overnight and I'll be back to show you how to apply the first coat of Gel Satin Topcoat.
APPLYING FIRST COAT OF GEL TOPCOAT: (5:45 - 8:10)
I am back with a stained table leaf that has dried. Let's put down the first coat of Gel Satin. Because Gel Stains have such a high solid content they look like they don't need a sealer but they really do. Think of stain as color and top coat as protection. Protect the color!
Get my gloves on and we'll get started. Put it out in a thin coat. The objective of this first coat is simply to seal the surface. Clean these off with just a light polishing motion, not removing too much of the finish. Using this staining brush I am going to just let it drag on the surface. One last pull across. So that's how to apply the first coat. We will let this dry overnight.
APPLYING SECOND COAT OF GEL TOPCOAT: (8:20 - 11:40)
Here is the table leaf with one coat of Gel Satin that has dried. First, sand down the surface with a 220 sanding pad. Knock down the finish, staying with the grain. If you had edges and detail on your piece you'd want to go soft so you don't cut through to the stain. Wipe off the dust.
Just get it out on the surface and move it around. Just a little bit of finish here. Use that for a polishing pad. This is a really light wiping. I'm taking off just a little bit of finish.
Because of gel's high solids content, it can harden in the can. So if you have leftover product like I do, you can improve the shelf life by cleaning the chime really well.
We added a third layer of Gel Satin Topcoat to our table leaf and let it dry 72 hours.
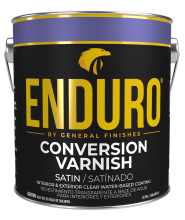 Enduro Water-Based Conversion Varnish
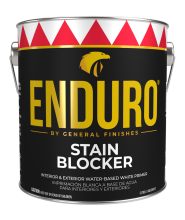 Enduro Water Based Stain Blocker Primer
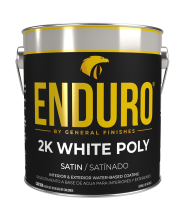 Enduro Water-Based Tintable 2K White Poly
 Enduro Water-Based Pro Series White Polyurethane
 Hard Wax Oil & Hardener
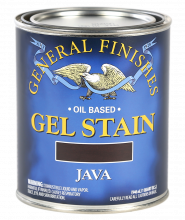 Gel Stains
 Pro Image Flooring Topcoat
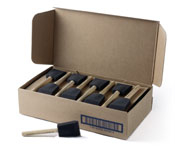 Jen Poly Brushes
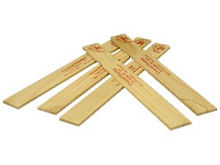 Stir Stix
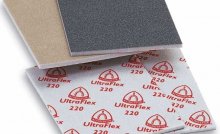 Ultraflex Softback Sanding Sponge

