 Enduro Water-Based Conversion Varnish
 Enduro Water Based Stain Blocker Primer
 Enduro Water-Based Tintable 2K White Poly
 Enduro Water-Based Pro Series White Polyurethane
 Hard Wax Oil & Hardener
 Gel Stains
 Pro Image Flooring Topcoat
 Jen Poly Brushes
 Stir Stix
 Ultraflex Softback Sanding Sponge

PRODUCTS FEATURED:
- GENERAL FINISHES PEARL EFFECTS: Argentine
- GENERAL FINISHES PEARL EFFECTS: Bronze
- GENERAL FINISHES PEARL EFFECTS: Burnished
- GENERAL FINISHES EXTENDER
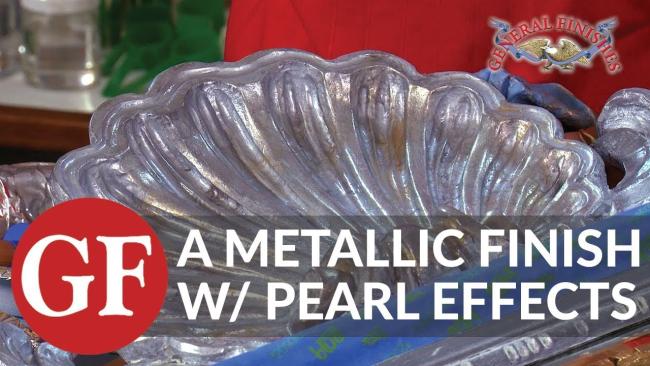
TO GET THIS LOOK:
Apply a coat of General Finishes Milk Paint Driftwood sealed with General Finishes High Performance Satin Topcoat. Pounce on 3 different Pearl Effects Colors: Bronze, Burnished and Argentine over the surface, section by section. While the Pearl Effects is still wet, dab with a damp towel to blend the 3 colors until you get the effect you want. Seal with 3 coats General Finishes High Performance Flat or Satin Topcoat.
CHRIS
Today we have celebrity guest Nicole, of Rescued Furnishings in St. Louis. Nicole won Best Custom Mix of Milk Paint in General Finishes’ 2015 Design Challenge with her entry, Galapagos Blue.
NICOLE
I will be creating a customized metallic finish on this wall mirror using a combination of Argentine, Bronze and Burnished Pearl Effects thinned with 5% Extender. Extender increases open time and workability, and makes the paint perform more like a glaze.
CHRIS
The mirror had an existing finish, so it was scrubbed clean with a Scotch Brite pad and a 50:50 mix of denatured alcohol and water. Then we scuff-sanded with a 220 sanding pad.
Then we applied 2 coats of Driftwood Milk Paint, let each coat dry 3 hours, buffed with a 220 sanding pad, and removed the dust.
The Milk Paint has been sealed with one layer of water-based topcoat High Performance Satin, dried 3 hours, and finished with Winter White Glaze Effects.
NICOLE
Once finished, we thought the mirror needed more pizzazz, so we decided to pounce on this combination of Argentine, Bronze and Burnished Pearl Effects to create this look.
To make the Pearl Effects glide across the surface easily, we added one more coat of High Performance Satin first.
CHRIS
The supplies needed are: Extender, synthetic or foam brushes and blue shop towels. We love these new round Krex brushes from Chalk Supply. They don’t shed bristles or flare and they clean up fast.
NICOLE
Whenever I glaze I want to accentuate the details of a piece. I'm going to start with the Argentine and brush it on everywhere. We are going to brush it on the entire surface - the extender helps you have some more open time. Just pounce the brush in to get the finish into the detail.
Once I have enough of the silver on here I am going to switch to the blackened bronze. And this color is going to help darken it. Notice I am not actually wiping or doing anything yet. I'm just going to take this brush and start pouncing it.
Then take a damp cloth and dab the wet paint. Again it's going to look scary in the beginning but that's okay - just keep dabbing. On this little part right here, it's a little bit too gold for me so I am going to go back with some more silver and bronze to make it blend a little bit better.
CHRIS
To save on time, we finished the mirror in our studio, letting the Pearl Effects dry for 12 hours, and finished off with 3 coats of water based topcoat - we used clear-drying High Performance Satin. Here’s how the finished mirror turned out.